Dedicated to all the people who find it difficult to make palatable food, due to their dietary restrictions.

Tuesday 26 March 2013

Rainbow Pie

                                     
I dreamt up today's recipe while at work, cooked it right after coming back home and I am very happy with it!

Apart from the nice colours,  thanks to lentils the dish has low glycemic index which makes it suitable for diabetics. It is also vegan, gluten and lactose free, but so full of taste!

If that was not enough, one portion prepared this way has only about 250 kcal.


Ingredients (for four people)

1,5 cup red split lentils
2 avocados
3 big red onions
100 ml Alpro Soya single cream
1/3 lime
1-2 cloves of garlic
olive oil
coarse ground black pepper
some cherry tomatoes
 2 tbs vegetable seasoning/ 2 stock cubes

Procedure:

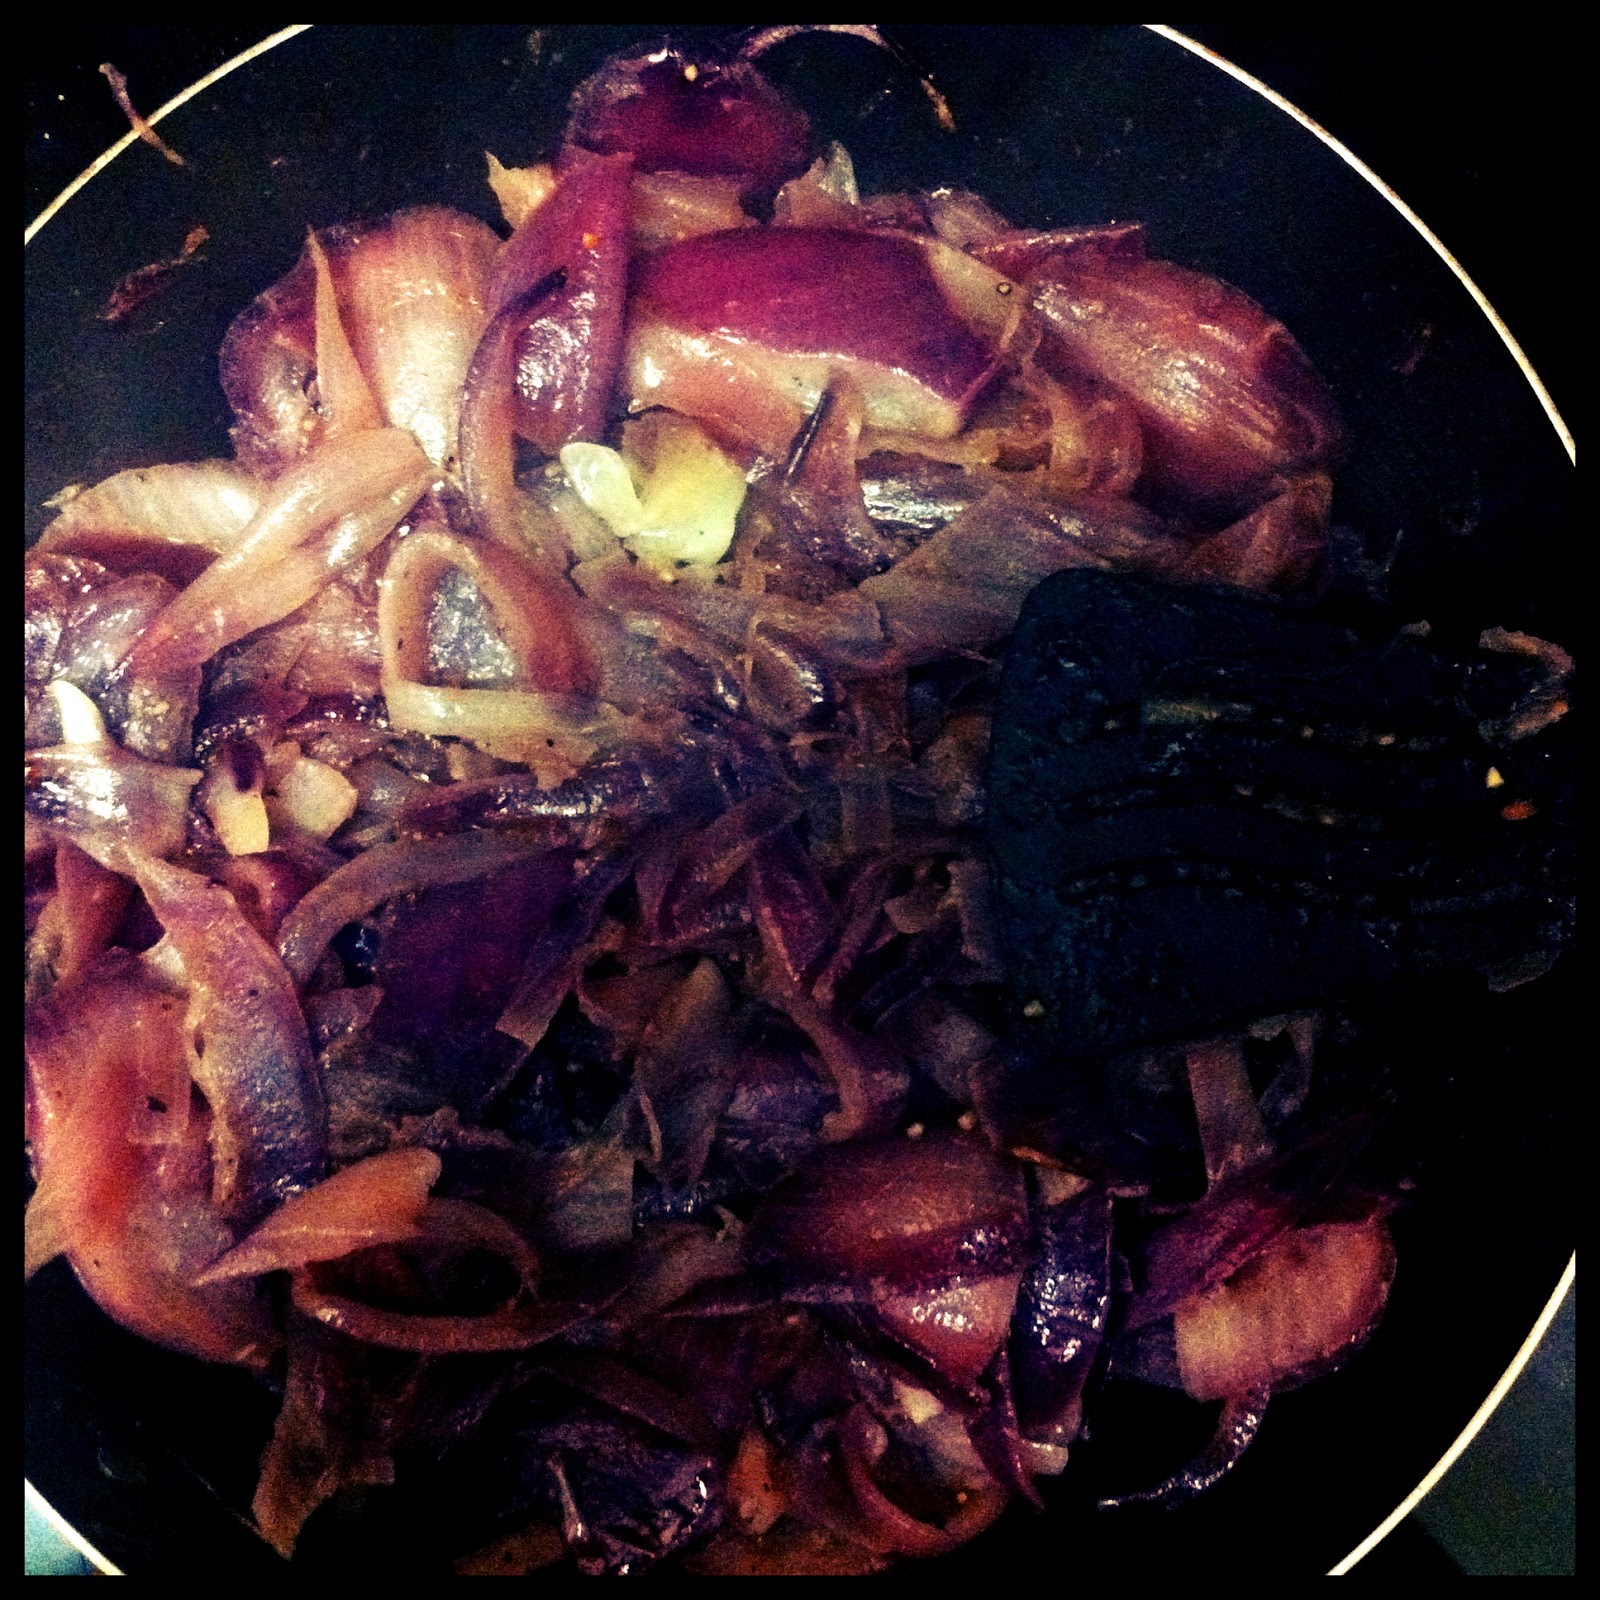
1) Slice the red onions and put them in a pan with 1 tbs olive oil. Add 1-2 tea spoons of salt and a lot of black pepper for taste. Cook on low heat and don't let them burn- they should not actually fry, but become something like a purple relish.


2) At the same time cook lentils in about 2 cups water, with 2 tbs vegetable powder/2 stock cubes. If they soak it all up and are still uncooked, add some more, but do not add too much in advance, as they have to make a mash, not a soup. This should take about 20-30 minutes. Add 100 ml of the soy cream at the end of cooking and allow lentils to soak it up. The onion should be ready when the lentils are.

3) While waiting, mash (or chop very finely) the garlic and let it sit while the rest is cooking.

4) Just before serving mash up 2 avocados with 1-2 cloves of garlic. Squeeze in juice from about 1/3 lime (this is practically a guacamole).


 You can serve it as a big dish, or on individual plates. I recommend putting the mash first making a doughnut shape,  filling the hole in the 'doughnut' with the onion relish and topping everything with avocado mash. Decorate with cherry tomatoes.

Enjoy!


Tips:

The avocado works best if it is fully ripen- the peel should come off easily, and it should be enough to mash it with a fork. However it is often hard to get ripen avocados in a supermarket. If you are desperate and your avocados are hard as stones, put them into microwave oven for 5 minutes on 'defrost' program, then let stand until  they cool down, after which repeat the procedure (if you have more time and heating in the house, letting them sit on a radiator for a day also helps). Then use a blender instead of fork to mash them. They will taste less creamy, but still acceptable. On the plus side they will probably have a more radiant green colour this way.

Lentils have a strong orange  (why are they called red?) colour when raw which fades in the process of cooking. If you want to enhance the orange colour of the lentils, you can add about 2 tbs tumeric powder and a bit of paprika powder. If you like tumeric, you'll also enjoy the taste. Mind, though, that it makes the lentil mash taste a bit less creamy, and gives it a slight bitterness.

One tablespoon of olive oil for three huge red onions sounds like a small amount, and it is very tempting to add more; but believe me (if you have a non-stick pan) it is enough and they taste fine. Too much oil makes the dish too heavy, especially that we already have the cream and the avocados.

Monday 25 March 2013

Pasta Aglio Olio Pepperoncino


This is extremely easy to prepare, which is proved by the fact that whole recipe is revealed already by the name of the dish (provided you speak Italian, of course).

It is not my own recipe, instead a very traditional Italian one, to my knowledge mostly associated with the region of Calabria, where they just love their chilli - Italian: pepperoncino (they even make pepperoncino jam there!). 

It is the kind of food you prepare when the only thing you have left is dry pasta, and you're too lazy to go shopping (or you're a student and you can't afford it). The result is just heavenly though!
One of my favourite recipes ever.

Ingredients:

Pasta (I think linguine works best)
Fresh garlic (Aglio)
Olive Oil (Olio)
Crushed chilli peppers (Pepperoncino)


Procedure:

1) Start boiling water for the pasta, cook it according to the instructions on the package, with a tablespoon of salt.

2) In the meantime chop some garlic and heat some olive oil on low heat.

3) Put the garlic with a pinch of salt in the olive oil, fry for a while, take of the heat before it starts to get brownish. Add a pinch of chillies while the oil is still hot. Bravo! The sauce is ready.

4) After draining the pasta put it back to the same pot, pour the sauce over and mix well while in the pot.

Bon Apetito!!!


Tips:

Don't overcook the pasta! Set a timer on whatever you have available (your smartphone?). Nothing upsets an Italian recipe more than overcooked pasta, so imagine that you have an angry Italian standing over you that will start screaming at you (in Italian) if you get the pasta wrong!

Amounts of garlic, oil and chilli?

I would say to use about 6 cloves/ 500g uncooked pasta, but it really depends on how much you like garlic.

With pepperoncino  again, the amount you use depends mostly on your liking/resistance to hot food.  But watch out cause it can be extremely hot in very low quantities, that's why I recommended just a pinch (also even though I said pinch, better use a spoon to measure that, and by no means rub your eyes after touching chilli!!)

When it comes to oil, by default I would use enough to cover a small pan, but not more. But it rather depends on how much you have/don't have to watch your line.


Monday 18 March 2013

Awesome Aubergines


Believe it or not, but this is a great  low kcalorie pizza substitute for those who can't or don't want to eat flour. It is also extremely easy to prepare. The only drawback is the waiting time. But the outcome is worth the wait.


It is very low-kcal and suprisingly rewarding and filling! One portion (half aubergine prepared this way) has about 100 kcal.


Ingredients:

Aubergines (!!!)
Mozarella cheese
Garlic
Vegetable seasoning/stock cube/salt
Tomato passata (optional)


Procedure:

1) Pre-heat the oven to 200 degrees Celsius

2) Wash the aubergines and cut them in halves along the lenght. Then cut a 'grid' in the aubergine's meat.


3) Put about 1/2 teaspoon of the vegetable seasoning per half aubergine. Rub it in by rubbing the two halves of the aubergine against each other.

4) Cut the garlic in slices, and stick the slices in the aubergine (the grid helps). I recommend using 1 clove per one aubergine.

5) Put the aubergines in the lower part of the oven if using the grill function. Wait approx 30 min- until the aubergines 'wilt' (the time depends on the size of the aubergine).

6) Put the mozarella on (optionally you can put some tomato passata before the mozarella, for more pizza-like taste). One 125g ball of mozarella should be enough to cover four aubergine halves. Put back in the oven, this time on the highest shelf, just under the grill. The dish is ready when the cheese melts and becomes golden on the top.


Enjoy!


Tips:

Watch out not to burn yourself eating: aubergines have an amazing capacity to retain the heat!


Make sure you cook the aubergines well.  Under-cooked aubergines might make you sleepy: like potatos, they contain solanine, which in low doses (as in the veg) might have such an effect. It degrades in the process of cooking. Rubbing salt in, before cooking helps to make this process faster. More on solanine: http://en.wikipedia.org/wiki/Solanine.

To avoid the long wait when hungry (and ease the fear of solanine), I sometimes roast the aubergines the day before, and keep in the fridge. Then when I want to eat, I only put the cheese on the pre-roasted aubergines, and put on the highest shelf in the oven for circa 5 minutes.

You can also rub some olive oil in the aubergines before cooking. It works well for the taste, but defeats the purpose of it being a low-kcal dish.

The recipe as presented here is not vegan/lactose-free, but it can be easily modified to be so. I am planning to make another post about a vegan-friendly variations of the dish, but for now you can just skip the cheese/replace it with vegan cheese.

Creamy Crepes


This is a slightly tweaked standard vegan pancake recipe for a bit 'creamier' crepes (pancakes).

Approved by my Chief Carnivore Approver, who said that they are no worse than regular pancakes, and indeed maybe even a bit smoother.


Ingredients:


1 cup flour
1 cup soy alternative to milk
1 box alpro soy single
1 teaspoon baking powder
2 teaspoons salt
1/3 cup sunflower oil


You will also need:

big bowl
mixer/whisk
non-stick frying pan
soup spoon
spatula

Procedure:

1) Mix all the ingredients in a big bowl, using electric mixer/whisk. You should end up with a consistency of a thick yogurt. If too thick/too watery, add more milk/more flour. Oil goes inside the batter.

2) Heat up the frying pan. Don't start making the pancakes until the pan is really hot.

3) You can put a bit of oil in the pan before making the first pancake. This won't be necessary with the next ones.

4) Pour batter into the pan with the soup spoon (usually 1 spoon= 1 pancake), wait until the top of the pancake stops 'looking liquid' then turn it using a spatula. If the pancake is golden on both sides, it means it is ready.


Enjoy!


Saturday 16 March 2013

Papaya rice

This recipe dawned on me quite recently, when I decided to try a papaya. Both me and my companions decided that, despite the good looks, it does not taste too amazing as a fruit, but I thought it would work great with rice. Therefore a couple of days later I tried  making this dish, using the poor unwanted papaya.

The outcome was approved by my very skeptical housemate, who admitted, she did not believe me that this would taste nice. So if you don't believe me either, the only way to find out if that is really the case is to follow
my recipe and try it yourself!


Ingredients:

1 papaya wedge (of course)
1 medium onion
1/2 plum
1/2 lime with peel
1 tablespoon oil
2-3 tablespoons Mama Sita's Tapa Marinade
1 tablespoon vegetable seasoning (or stock cube)
1 cup easy cook or Japanese rice

You will also need:

non-stick frying pan
small pot

Procedure:

1) Cook the rice in water with the lime. Add only as much water as will cover the rice. If all the water is absorbed and the rice is still not ready, just top up the water and wait until the rice 'drinks it' again.

2) At the same time start preparing the seasoning in a non-stick frying pan. Start by frying the onion on 1 tablespoon oil (add the vegetable seasoning- it contains salt and will make the onion 'glassy').  Chop the fruit in thin slices. Add in chopped fruit while the onion is still white, or yellowish-transparent. Lower the heat. The fruit should release some juice. Add the marinade.

3) When the rice is almost-ready add to the pan with the seasoning and stew for a while.

4) Discard the lime, and it is ready to eat!

Enjoy!


Tips:

The recipe definitely works very well as a side, but if you are a fan of rice, you can eat it on its own.

You can change the fruit/rice ratio depending on how much sweet do you like in sweet-and- savoury dishes.

The first time I tried it I used the easy cook rice (did not have any other), which worked fine, but I think it could work even better with Japanese/Korean rice (sushi rice). I might try that next time and update this post.

I buy the marinade in my local Asian shop. But if you can't find it, I think that the recipe should work alright without it. It is meant for meat, but its ingredients are vegan, and it tastes amazing with everything- especially rice!

Nice and easy curry-tomato soup

This recipe is quite quick, and not too difficult. I am lucky to have all the listed Indian spice in my kitchen, but you'd be more or less ( probably a bit less, but shhhhh....) as well off using a supermarket curry mix.

The soup is rich and creamy, and though quite healthy, it is really delicious. I tried to take pictures along the process of cooking, but despite my best efforts (and 'creative' editing using hipster apps) they do not look too appetizing. Therefore you'll just have to trust me on that.

Ingredients:

1-2 carrots
2 small sweet potatoes
4-5 baby potatoes
2 tablespoons red lentils
1 box of tomato passata
1 can of coconut milk
2 cups water
3 tablespoons vegetable seasoning powder (or 3 stock cubes)
1/4 lime


Spice:

Tumeric powder
Cayenne pepper
Fenugreek powder
Mild Madras Curry powder
Coriander powder
Mustard seeds
Bay leaves
Cumin

(approx. 1 tbs. each)


Procedure:


1) Cut the vegetables.
    You can cut them in nice cubes if you're not planning to blend the soup.
    Otherwise the shapes and sizes don't really matter.


2) Put the vegetables in a pot full of water.
    Bring to boil. Add all the spice and stock/vegetable powder.
    Cook until the potatoes fall apart when pinched with a fork.


3) Add tomato passata, mix, bring to boil and add the coconut milk.
    Throw in the lime (yes, with the peel!).

4) Cook for another 5-10 minutes.


5) If you are not planning to blend the soup, it is ready to eat!
    If you want to blend it, remember to fish out the bay leaves and lime peel first!

Bon apetit!

Tips:

If you can't find coconut cream in your shop, you can use alpro soy single cream, the soup will be almost as good! Of course, if you're not vegan, the regular cream will also do, though I do recommend trying the soy cream as it has a really nice aroma, that fits quite well with the style of this soup.

If you like onions, you can add some for the taste. All the vegetables in the recipe are somewhat optional, so you can make variations of the soup depending on what you have at hand.

If you are super-lazy, you can make an ultra-quick version of this soup, where you'd just combine water, tomato passata, coconut cream and spices. Just pour everything together, bring to boil, and eat. The taste/effort ratio for this soup is sky-high, and the cost is only about 2 euros.


The Ultimate Vegan Brownie

This brownie has been repeatedly appreciated by all the non-vegans that tried it, which proves its 'ultimateness'. The recipe is actually not exactly of my own, but I tweaked it by adding the chocolate bars. Imagine: chocolate cake filled with chocolate! Can there be anything better for a sweet tooth? Plus it is just EXTREMELY easy to make !

Ingredients:

2 cups flour
2 cups sugar
1 cup cocoa
1 cup vegetable fat
1 cup water
1 tablespoon baking powder
1 teaspoon salt
2 bars of 72% cocoa chocolate
vanilla extract


You will also need:

a baking tray
 a big bowl to mix the ingredients
a mixer or a whisk
baking paper
measuring cup


This makes a big tray of cake. If you don't want to eat that much cake, just divide all the amounts by 2 (or any other number you feel is right), and make a smaller tray.  I found that the solid vegetable fat works better than oil, but either is fine. If you are willing to spend more money, buy real vanilla instead of the extract, it definitely tastes better, but it is literally 10 times more expensive where I source my ingredients so I skipped it. I did not provide the measure for vanilla extract as I guess it is better to follow the instructions on the packaging ( from my experience different producers make different strengths of extracts).


The procedure, as mentioned before, is extremely easy!

1) Pre-heat the oven to 200 degrees Celsius

2) Put everything into one bowl and mix (electric mixer will come handy here, as the batter comes out as quite thick). If you are using solid fat, melt it in a microwave before mixing in.

3) Put the baking paper in the tray (you can oil it a bit), and pour 2/3 of the batter. Then put the chocolate on top of the batter (it should not sink in) and cover with the rest of the batter.

4) Place the grill/oven tray in the middle of the oven. Put in the tray with the batter.

5) Bake the cake for 25-30 minutes to get a wonderful, moist texture (If you'd rather have your cake more dry, leave it for up to 50 minutes).

 Enjoy!!!